We spent the remaining days of November in Fenggang and then took our flight home via Tokyo on December 1st.
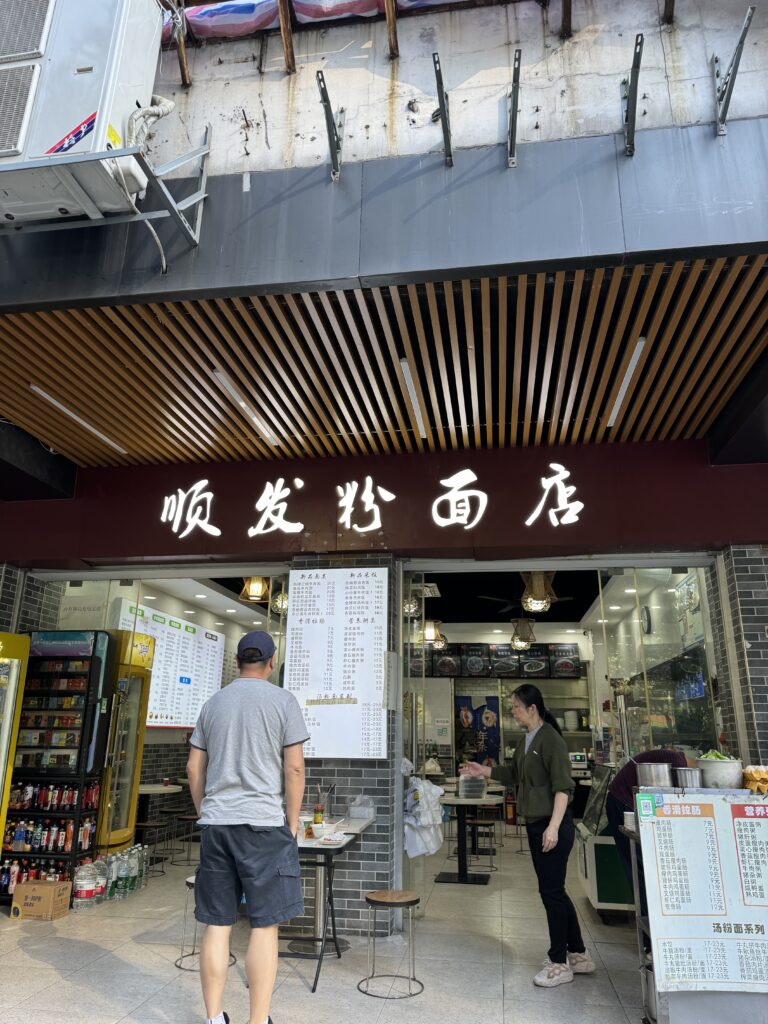
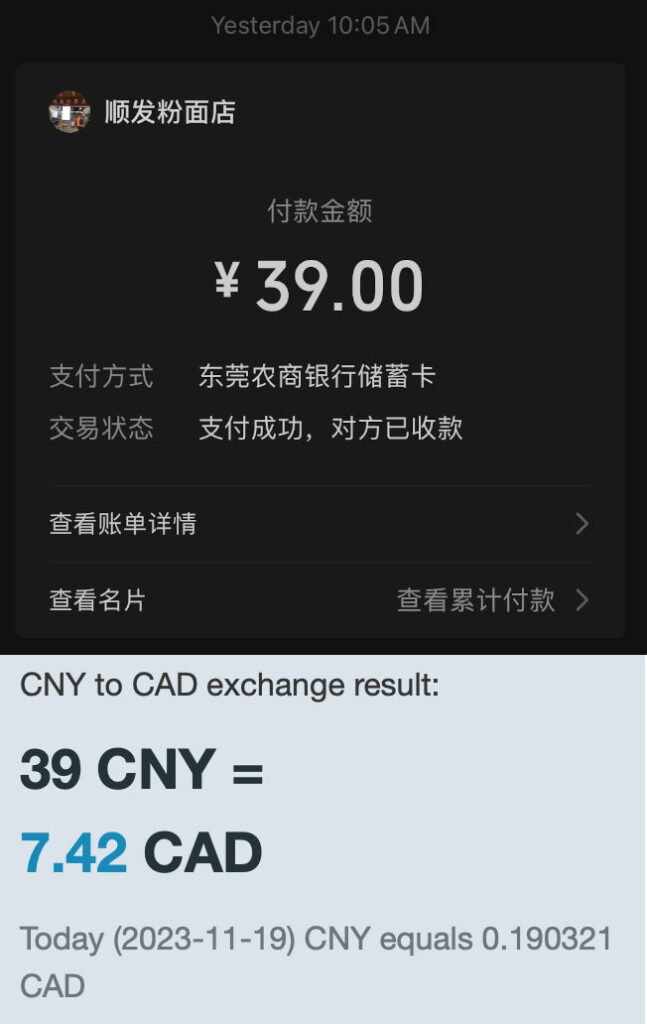
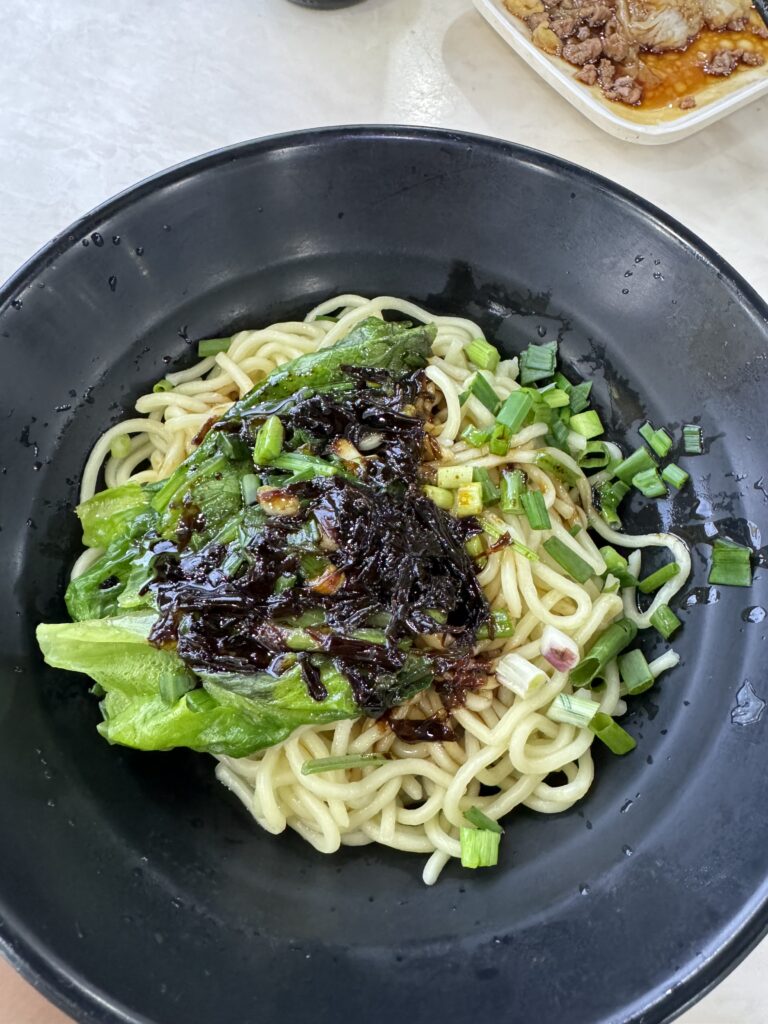
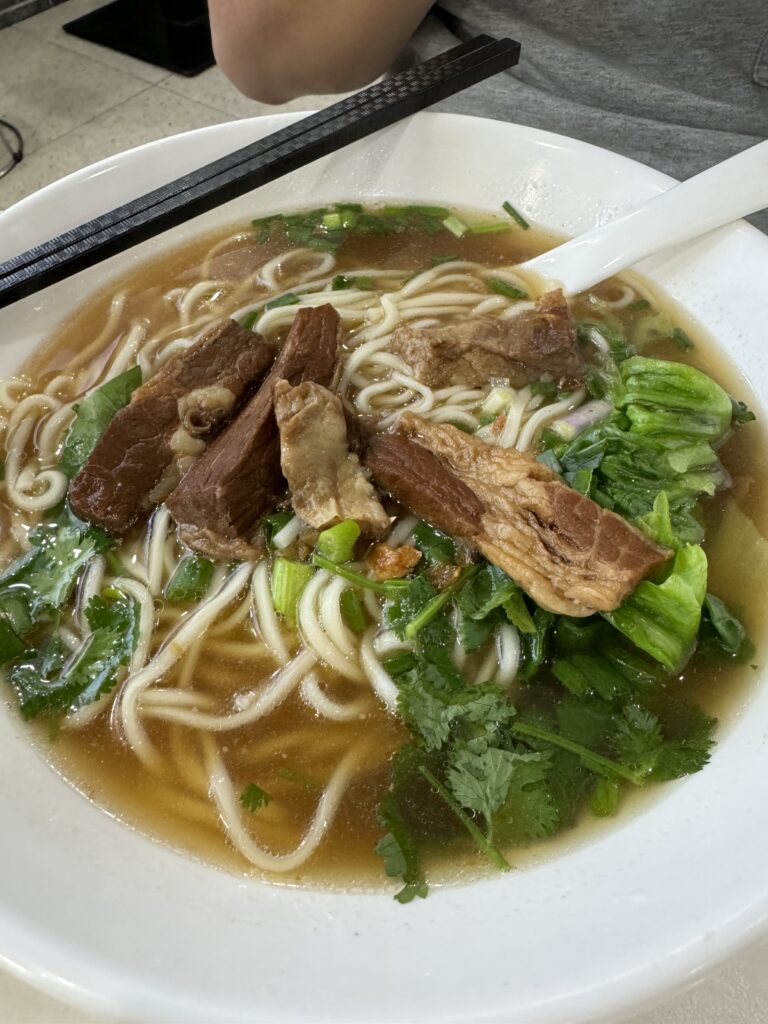
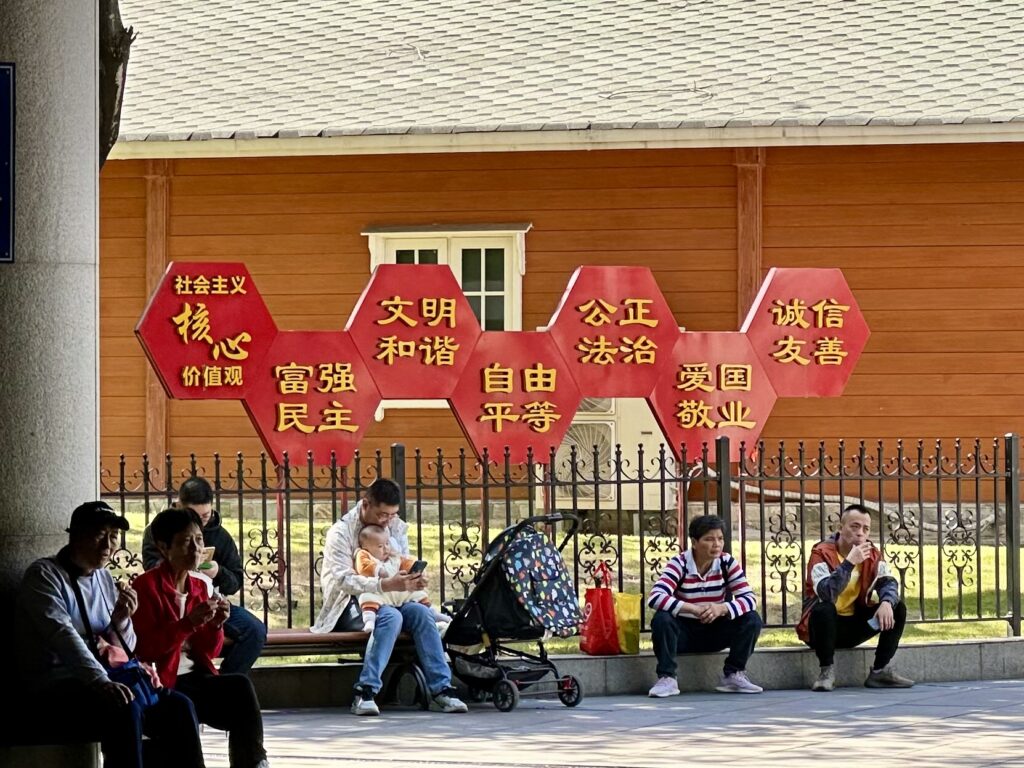
Not much exciting happened in the remaining days other than relaxing and going about what locals do. Effectively, we enjoyed the native life in Fenggang County (县), Dongguan City (市), Guangdong Province (省). I fell ill, so there was zero energy in me to do much travelling. Our original plan of visiting Shenzhen had to be scuttled.
We completed some final banking businesses, and also learned that our access to our Chinese banking accounts may be difficult through our Nihao Mobile numbers, but it was a bit too late to make this change. If we had to do things differently next time, we would probably get a number from one of the big three mobile operators in China, which are: China Mobile (中国移动), China Telecom (中国电信), and China Unicom (中国联通). The primary reason is that Nihao Mobile numbers cannot be active outside of China, but the others can be roamed in Canada and receive SMS messages for authentication services, which are essential for banking applications. We will get this fix on our next trip, which we plan to go at about the same time next year.
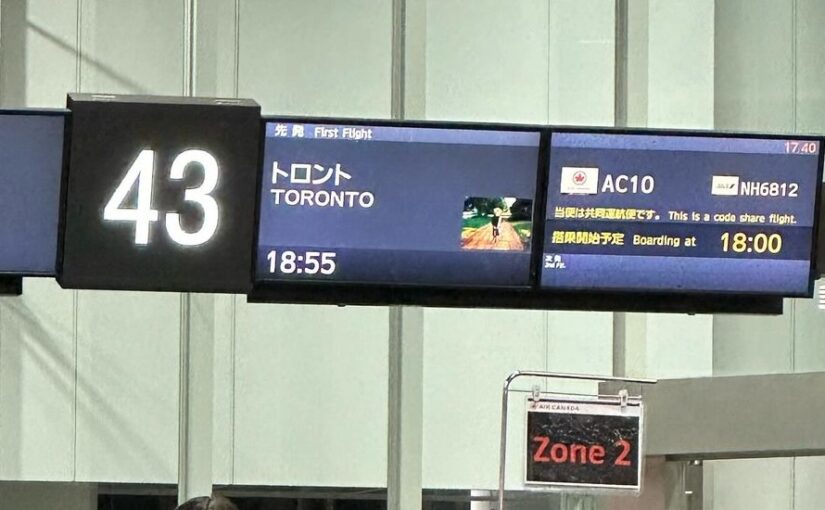
Our last leg home was on a flight through Air Canada. Every time I fly this leg from the Far East to Toronto, I swear that I will not be flying on Air Canada ever again on the same route. However the cheap the fare was, it was not worth the hassle. The disorganized boarding process, the narrow seats, the low quality of the food and sometimes adversarial cabin service, and finally the baggage handling delays, all would make me regret in saving a few bucks. Cathay Pacific all the way next time for sure, or one of the Chinese airlines.
Below are the remaining and final videos from Carol documenting our Asian Trip. It has been a blast.