PlexConnect with Apache 2

To get Plex working on my old Apple TV 3, I had to setup a PlexConnect server that bridges the Apple TV 3 to the Plex Media Server. Previously I discussed about hosting the PlexConnect server on a virtual machine (VM) because the host that PlexConnect is running on must be listening to port 80 and 443. Having a virtual machine is a big nuisance, because the VM may not be up and running. I even try to host PlexConnect on a dedicate Raspberry Pi so that I can leave it on, but that proved to be too slow.

I do have a Network Attached Storage (NAS) server so it will be ideal to run PlexConnect on that, but the NAS server is running Apache 2 which is already using port 80 and 443. Eureka! How about running a reverse proxy that points to an instance of PlexConnect running on the NAS that is running on a separate port. A quick Google search for the term “PlexConnect and Apache 2” found this page on GitHub. The article turned out to be extremely helpful.

I downloaded PlexConnect as before and created the certificates.

cd /home/kang

wget https://github.com/iBaa/PlexConnect/archive/V0.6.tar.gz

tar zxvf V0.6.tar.gz 

mv PlexConnect-0.6 PlexConnect

rm V0.6.tar.gz

cd PlexConnect/assets/certificates

openssl req -new -nodes -newkey rsa:2048 -out trailers.pem -keyout trailers.key -x509 -days 365 -subj "/C=US/CN=trailers.apple.com"

openssl x509 -in trailers.pem -outform der -out trailers.cer && cat trailers.key >> trailers.pem

I then have to tell PlexConnect the following:

  • Do not enable DNS since we already have a DNS server running;
  • Do not enable automatic IP detection because it will get the wrong VPN client IP, instead I hard coded the 192.168.168.198 IP;
  • Disable SSL server because this will be handled by Apache 2;
  • Change the port number from 80 to 18080

The final Settings.cfg configuration file looks like this with the changed values highlighted in bold:

[PlexConnect]
enable_plexgdm = True
ip_pms = 192.168.178.10
port_pms = 32400
enable_dnsserver = False
port_dnsserver = 53
ip_dnsmaster = 8.8.8.8
prevent_atv_update = True
intercept_atv_icon = True
icon = movie-trailers
enable_plexconnect_autodetect = False
ip_plexconnect = 192.168.168.198
hosttointercept = trailers.apple.com
port_webserver = 18080
enable_webserver_ssl = False
port_ssl = 18443
certfile = ./assets/certificates/trailers.pem
allow_gzip_atv = False
allow_gzip_pmslocal = False
allow_gzip_pmsremote = True
loglevel = Normal
logpath = .

I had to configure my firewall’s local DNS to resolve trailers.apple.com to my NAS server, which is 192.168.168.198. This was pretty simple on my UniFi Universal Secure Gateway (USG).

The Apache 2 configuration files needed to be setup with the reverse proxy for both port 80 and 443. To do this I added the following VirtualHost settings.

<VirtualHost *:443>
        ServerName trailers.apple.com

        SSLEngine on
        SSLProxyEngine on
        SSLCertificateFile "/home/kang/PlexConnect/assets/certificates/trailers.pem"
        SSLCertificateKeyFile "/home/kang/PlexConnect/assets/certificates/trailers.key"

	<Proxy *>
		Require ip 192.168.168.0/255.255.255.0
	</Proxy>

        RequestHeader set User-Agent AppleTV
        ProxyRequests Off
        ProxyPass / http://avs.localdomain:18080/ nocanon
        ProxyPassReverse / http://avs.localdomain:18080/
</VirtualHost>
<VirtualHost *:80>
        ServerName trailers.apple.com
        SSLEngine off

	<Proxy *>
		Require ip 192.168.168.0/255.255.255.0
	</Proxy>

        RequestHeader set User-Agent AppleTV
        ProxyRequests Off
        ProxyPass / http://avs.localdomain:18080/ nocanon
        ProxyPassReverse / http://avs.localdomain:18080/
</VirtualHost>

I also needed to enable the headers module.

sudo a2enmod headers

We then needed to create a new systemctl service for PlexConnect. I had to create a plexconnect.service file in /etc/systemd/system with the following contents.

[Unit]
 Description=Plexconnect
 After=plexmediaserver.service
 
 [Service]
 Type=simple
 ExecStart=/usr/bin/python /home/kang/PlexConnect/PlexConnect.py
 User=root
 Group=root
 Restart=on-failure
 RestartSec=15
 StartLimitInterval=10s
 StartLimitBurst=3
 
 [Install]
 WantedBy=multi-user.target
 

The final steps are:

  • Check the Apache configuration file
  • Restart Apache
  • Start PlexConnect
sudo apache2ctl configtest

sudo systemctl restart apache2

sudo systemctl start plexconnect.service

Went to the Apple TV 3, and reconfigure the DNS to auto, removed the old profile and re-add http://trailers.apple.com/trailers.cer as the new profile. I discussed in my previous blog.

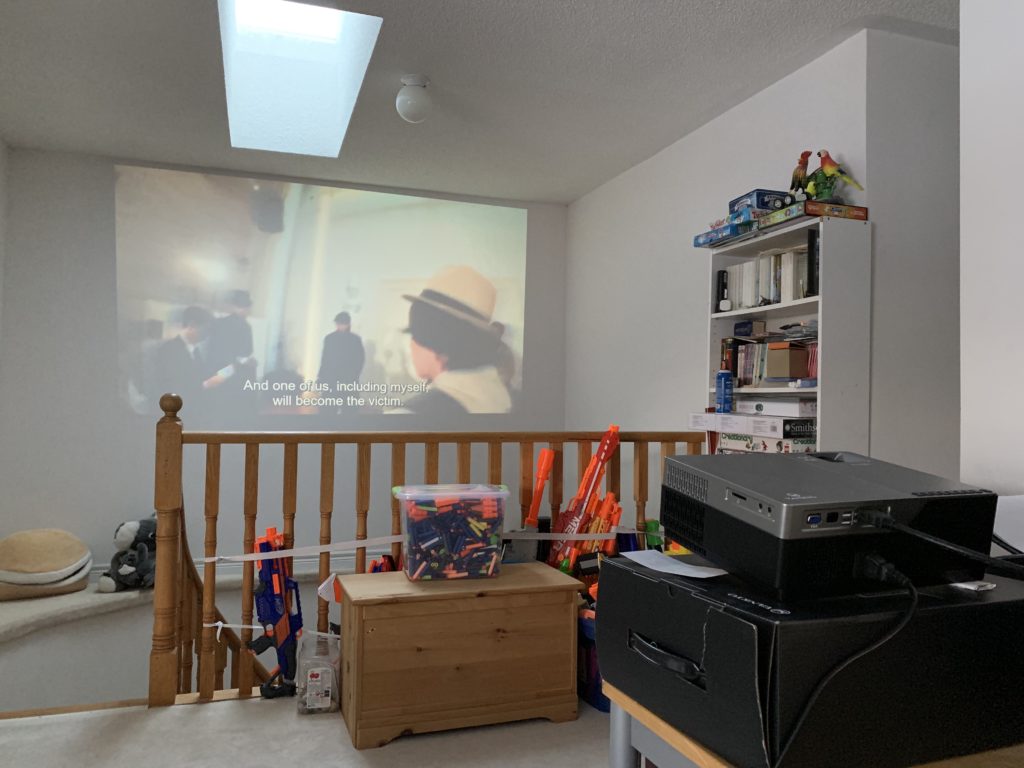
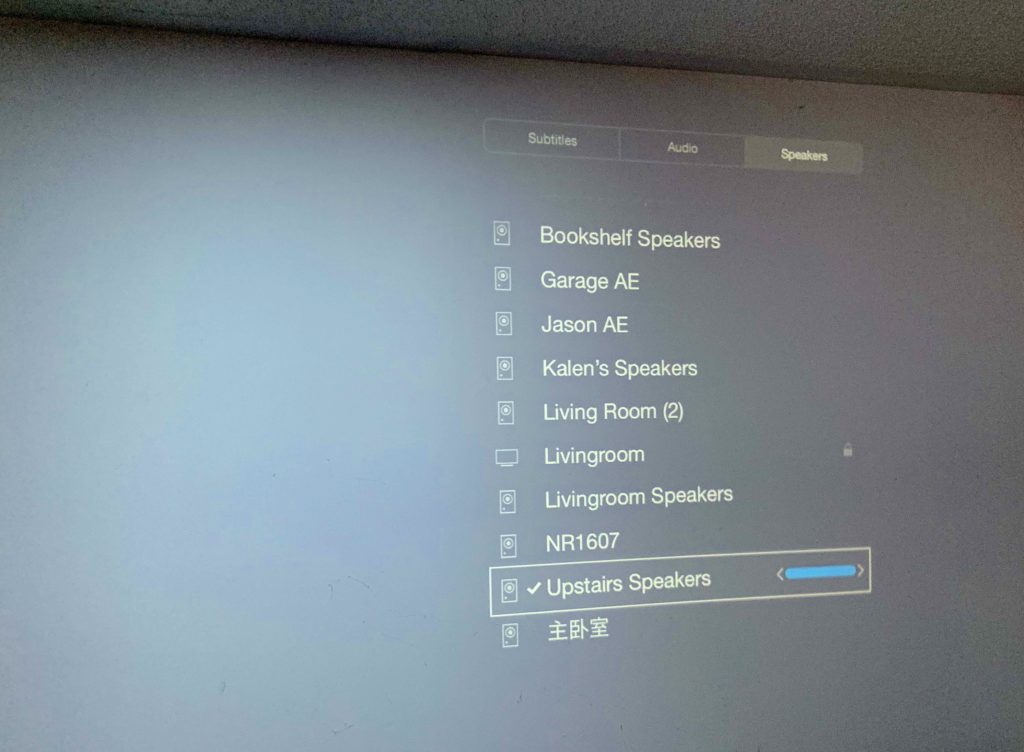
After signing into my Plex account, and testing various Plex media sources with the Trailers app, as well as trying out YouTube and the Prime Video app, everything is good! The VM is no longer required and we declare victory!

Plex on Apple TV 3

In my previous post, I talked about adding the Apple TV 3 to a value projector that I purchased on Black Friday. I was pretty satisfied with that solution, but then my ambition kicked in. Wouldn’t it be nice if the ATV3 can access my local Plex Media Server instead of streaming it from my iOS device using the Plex App via AirPlay?

A quick Google search yielded the discovery of the PlexConnect project. This is a very cool project. It allows the old ATV3, which does not support the native Apple TV Plex App, to act as a Plex client by spoofing the Trailers app that came with the box. To do this, the ATV3 needs to point its DNS network setting to a PlexConnect server, which performs the magic of bridging ATV3 requests to the Plex Media Server and handles the rendering.

PlexConnect was very easy to setup. I reused an existing Windows 10 virtual machine on my MacBook Pro for this purpose. My other servers in the house cannot be used because the required ports needed by PlexConnect are already in use. We cannot run PlexConnect on another port other than 80 and 443.

Changing the DNS settings on the ATV3 was straight forward, but adding the required profile of http://trailers.apple.com/trailers.cer was interesting. The instructions for the profile were:

  1. Go to the AppleTV settings menu.
  2. Select “General” then scroll the cursor down to highlight “Send Data To Apple” and set to “No”.
  3. With “Send Data To Apple” highlighted, press “Play” (not the normal “Select” button) and you will be prompted to add a profile.
  4. Enter (without the quotes): “http://trailers.apple.com/trailers.cer”

Once the above is done, all apps on the ATV3 including Prime, YouTube, etc. will not work without having the PlexConnect server up and running. Another note is that I had to run PlexConnect using administration privileges on Windows, otherwise it will not be able to listen to the secure ports.

Having the virtual machine up and running to service Plex was a bit bothersome. I setup another PlexConnect server on a Raspberry Pi to see if this can be an alternative solution, but it was just too slow with its 100Mbps network connection and its slow processor. It worked but the user experience was simply not good.

Perhaps the simplest thing is just to buy another Apple TV 4 during Boxing Day sale, and be done with it.

My ambition is still not fully met. My next step is to install a projector mount on the ceiling, so the projector is not taking up precious little desk space.

Apple TV with Projector

During the Black Friday / Cyber Monday weekend I performed an impulse buy and acquired a Vankyo V600 native 1080p projector for $280.49. The regular price for this unit is usually $399.99. I was curious what a big picture experience would be like on the flat wall of my curved staircase, which connects our main and second floors.

Projecting a Korean Variety Show (during Daylight)

The above end result was pretty impressive for the amount of dollars invested. I had an old Apple TV 3rd generation that was lying around not doing anything, and thought this would be a perfect media source for the projector.

Connection Layout

For good sound, a pair of Edifier 1850DB speakers, connected to an Airport Express, already existed upstairs. All I had to do was connect the Apple TV to the projector and set the Apple TV to AirPlay to the Edifier speakers. All of this worked as expected. However, I did run into a snag. The volume signals from the Apple TV was quite low. Even when I cranked up the Edifier volume, it was still barely audible. It took me a long time to figure out how to change the volume on the Apple TV.

Hidden Menu

Apparently when a video is being played on the Apple TV, you have to press and hold the select (centre) button on the remote until a menu shows up pertaining to subtitles, audio, and speakers. You have to select the speakers and find the AirPlay speakers that the Apple TV is using. In my case, the Edifier speakers were labeled as “Upstairs Speakers”. The volume controls are presented by the blue slider bar.

Now everything works as expected on my private Local Area Network (LAN). We can play YouTube, or any iOS apps that does video. However, it would be nice for guests to be able to AirPlay to the projector. With the holiday season fast approaching, our dinner parties could be spiced up with this idea.

After fudging around with my firewall setup, the old Apple TV is now accessible from our guest WiFi. Now anyone can literally and figuratively project a video source from their mobile device on to my huge wall upstairs.

I am super happy how this turned out. We’ll have to wait for the final verdict from our guests this holiday season.