We Are in Japan!

On October 30th, we started our trip to Japan with a private shuttle service to Toronto International Airport. Since we have already performed our online check-in, we just needed to drop off our single bag.

I have worked with the check-in kiosks numerous times before, and knew that it should be able to print out the baggage tags, and receipt. This worked okay, with the exception that it needed to scan my passport to look up my booking. Me entering the booking reference number did not work for some reasons.

Our gate was E79

The automated baggage drop off was a new experience for me. We had to perform multiple attempts, ensuring that the bag was oriented correctly so the machine can read the bar codes. We were also given a tip by a fellow passenger that it also helps to stand at the appropriate spot. The important thing was that we got it to work in the end!

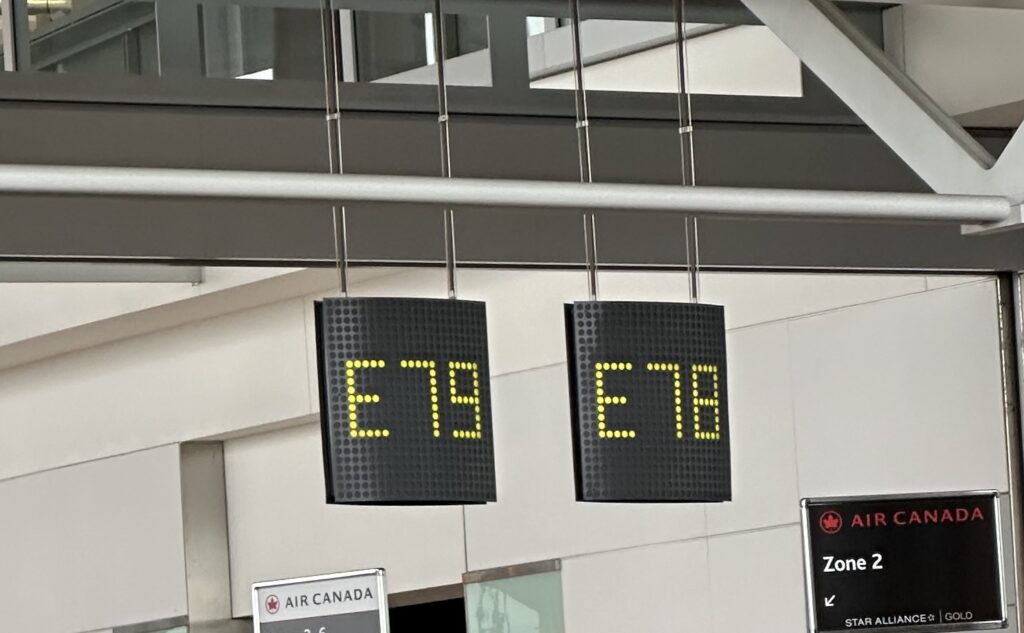
The waiting and boarding is the MOST stressful part of the entire airport process. I really do not understand why the airlines cannot streamline this part of the journey.

Waiting in line to be boarded

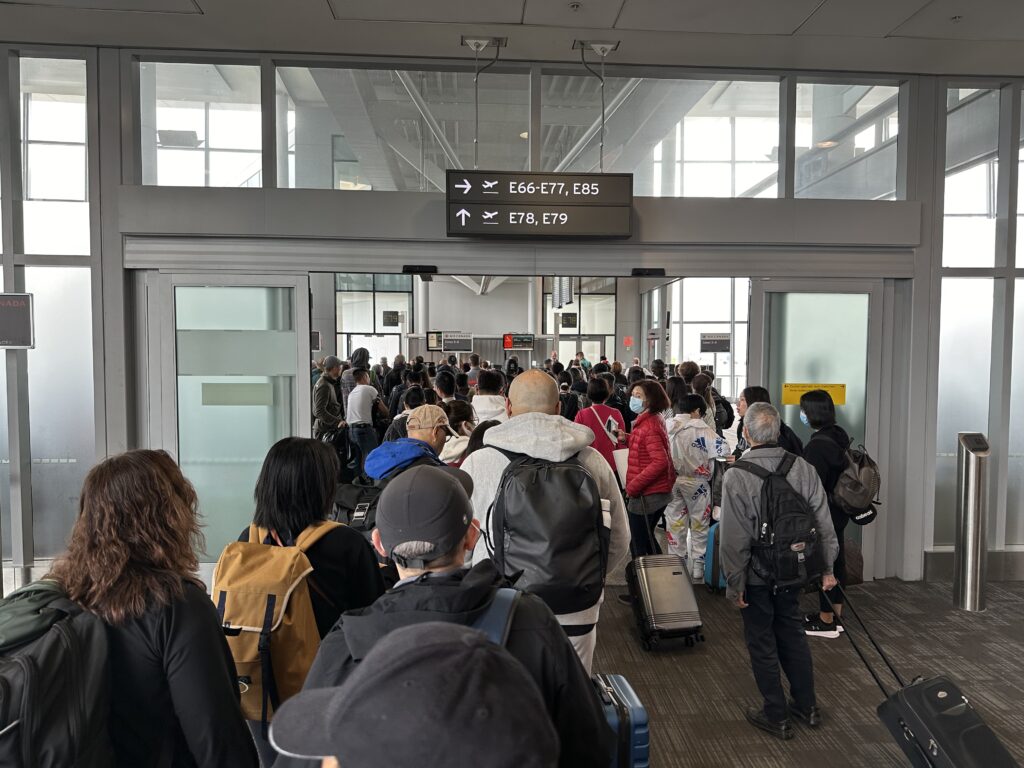
As the above picture show, it was just chaos. With a full flight and the possibility of no more overhead baggage storage made it more stressful.

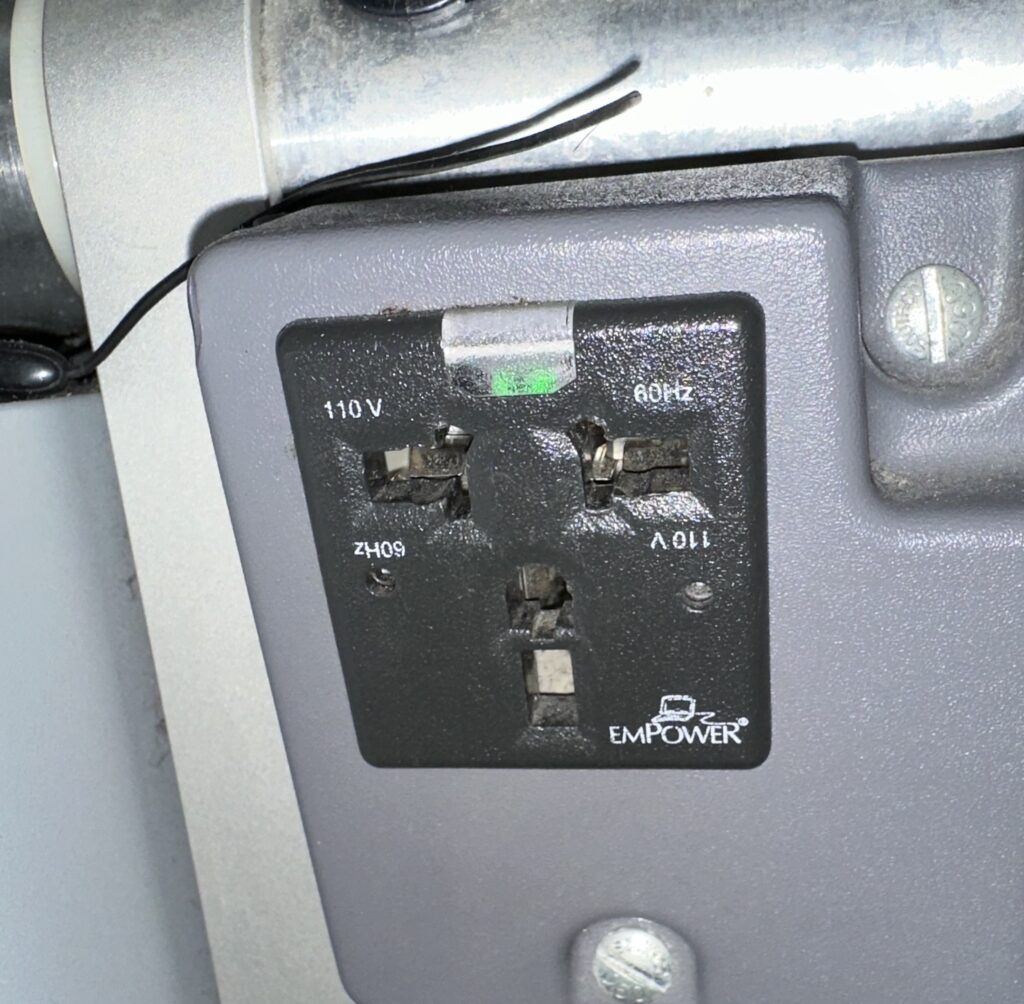
The flight is a long one something like 14 hours, but also felt really long. Air Canada really skimped on the food. We just had a late lunch and a hot breakfast. Between the lunch and breakfast was something like more than 8 hours. The electrical plug at the seat was so loose that my usual block adapter did not work. Luckily my wife had a smaller plug that use to come with the iPhones, and that worked. The washrooms on these long flights are also beginning to show its age and wear.

To top it all off, we had another 2.5 hours drive from the airport to our hotel, named Hotel CLAD. Even with the plane landing at 5pm, we didn’t get into our rooms until after 9:15pm.

Once we landed we had our handy QR codes from Visit Japan Web, where we pre-filled out our immigration and custom information. This saved us a lot of time. I highly recommend any one traveling to Japan to do the same thing.

We also purchased a 20GB 30 day data only eSim from Airalo. This worked really well as soon as I figured that the eSim from Airalo must have Data Roaming turned on. To avoid any roaming charges from my primary Koodo line back in Canada, I made doubly sure that the Koodo line Data Roaming is turned off, and I do not answer any calls from the Koodo line. Once we landed I switched to the Airalo eSim and both of our phones have data, while our social accounts still use the Canadian number.

Below is my wife’s video account of our journey:

Video of our flight and drive to Japan from Oct.30 to Oct. 31.

Giving Old MacBooks New Life

In the past, when MacBooks cannot run the latest MacOS X operating system, I typically relegate them to physical archive. I know that security patches can still be applied for some time, but sometimes missing the latest features can be an impediment to other shared devices within the Apple Wall Garden. For example, your latest iPhone may not work as well with the older MacBook etc.

Recently I found out about OpenCore Legacy Patcher (OCLP). This is an excellent tool that intercepts the booting process so that ultimately newer operating systems can run on older hardware. OCLP’s explanation on the Boot Process does a much better job in explaining this than I can, so please go check it out.

I am not going to explain the step by step process of using OCLP. Mr. Macintosh does a much better job than I can.

Video has 2 Examples: 1) Fresh Sonoma Install & 2) Upgrade Install to Sonoma

I use the fresh install process to install Sonoma (the latest MacOS at time of this writing). I did successfully on the following computers:

  • MacBook Air Early 2015
  • MacBook Pro 15″ 2016
  • MacBook Pro 15″ 2017

Once Sonoma is installed, the new operating system can also participate in future updates from Apple. However, the exception is before installing the updates, one has to ensure that OCLP must be updated. The update process is explained here.

Since these computers are relegated to legacy anyways, this process does not have much risk, and perhaps adds more life to your old hardware.

Rescue USB using Ventoy

In a previous post, I described how I created an encrypted USB as a mechanism to pass information to my sons should anything happen to myself or my wife during our vacation last year.

Well we are about to go on another long trip, and I decided to streamline the process with Ventoy.

Instead of creating a custom Live image whenever a new Ubuntu distribution is released, I have decided to use Ventoy to separate the Linux distribution away from the encrypted data.

Even though Ventoy supports persistence live distributions, I stayed away from them because I want to be able to replace the current distributions on the USB with new distributions with the least amount of work.

Below are the instructions that I used to create this Ventoy USB in an Ubuntu desktop environment.

Download Ventoy from https://github.com/ventoy/Ventoy/releases. Since we are on an Ubuntu operating system, so we want to download the tar.gz file. Once the tar.gz file is downloaded, extract the file and you should have a ventoy-X.Y.Z subdirectory with X.Y.Z being the version number of Ventoy.

Identify the target USB key device using the lsblk command (e.g. /dev/sdb) and goto the ventoy-X.Y.Z subdirectory and execute a command like the following:

sudo ./Ventoy2Disk.sh -I -r 10000 /dev/sdb

The above command will reserve 10000 MB as a tail end partition which we can use for a LUKS (encrypted) partition. We can create this LUKS partition called Succession by using the GNOME Disks app. We use a key that is at least 24 characters in length. It can be longer if you like but it becomes quite cumbersome to type.

Mount the LUKS partition, and then copy the the private data to the LUKS partition which was previously named Succession. My private data resides on the bigbird host.

scp -r bigbird:/Volumes/Personal\\ Information /media/kang/Succession

After the copying is completed, ensure that the “Personal Information” directory has the proper permission set (e.g. chmod 777 "Personal Information").

Assuming that all the ISO images are in the ISO directory, copy all the ISO images by executing the following command:

tar cf - ISO | (cd /media/kang/Ventoy; tar xvf - )

I included the following ISO images:

  • clonezilla-live-3.1.0-22-amd64.iso
  • kali-linux-2023.3-live-amd64.iso
  • kali-linux-2023.3-live-arm64.iso
  • ubuntu-22.04.3-desktop-amd64.iso
  • ventoy-1.0.96-livecd.iso
  • Win10_22H2_English_x64v1.iso

Note that not all the above ISO images are required, but the live Linux distrbituions are convenient in case you want to access the emergency information in the Succession LUKS partition in a hurry. The other ISO’s are just handy to have.

NOTE: When booting into a linux kernel with a PC with a discrete GPU that may not be compatible with a Live Distribution, you may need to use the nomodeset boot option.

Below is a YouTube video I made that shows how to gain access to the private encrypted data on the USB.

Booting from the USB on a gaming PC using a discrete GPU

Force Charing Pylontech Batteries

We had an issue with our house backup batteries where one of the BMS (Battery Management Systems) on the battery told the Schneider Hybrid XW Pro inverters to halt operation due to an overage in the charging amperage. After carrying out some battery diagnostics and reporting back to Pylontech, it was found that one battery unit had cells in an imbalanced state. Pylontech has agreed to replace the unit but it was also suggested to Force Charge the batteries.

The procedure of force-charging the batteries apparently should be performed around every six months or so. Force charging essentially applies a charge to the batteries until the batteries reach the desired constant voltage, and then the batteries are kept at that voltage for around 8 hours. Under normal operation, the inverters and the BMS will coordinate the charge cycles.

Before force charging we had to ensure the following voltage settings are correct under both inverter’s battery settings.

Under Battery Settings

As another precaution, I waited for the batteries to be normally charged at 100%. This is normally performed at around 8pm every evening in my office after peak hours. I also temporarily stopped the automation (cron jobs) that is responsible for manipulating the recharge and grid support SOC (state of charge) settings throughout the day. Both grid support and recharge SOC are set to 100 so that the battery has room to charge and is kept at 100%.

> solarUtil.sh -r 100 -g 100
set Grid Support SOC to 100
set Recharge SOC to 100

We do not want to mess around with other charging parameters while performing a force-charge.

Once this is done we had to change the Charge Cycle from External BMS to 3 Stage on the Master inverter only. The available options are shown on the left. Once force charging is completed we can switch it back to External BMS.

Change to 3 stage

With this configuration, we will only use the Master inverter to perform the force charge and leave the Slave configuration untouched.

Finally to trigger the force charge, we set the force charge parameter in the Control section of the Master inverter’s configuration to bulk.

We leave these settings for about 8 hours or so and then we change the Charge Cycle back to External BMS and re-enable the automation of the cron jobs for normal operations.

Driving to Calgary (Sault Ste. Marie to Home)

Today is the last leg of our journey. I have driven almost 8,200km, and we have successfully drove our Tesla Model Y from Richmond Hill, Ontario to Calgary. Jasper being the furthest point from home.

As with most of our days, we started off with the hotel offered breakfast, and then we set about our ways on the road. Since we did the outbound trip via the ferry from Tobermory, most of this stretch (anything East of Espanola) will be new to us. The speed limit increased from the meagre 90kph to 110kph in the Northern portion of Highway 400. This was of course a pleasant surprise.

We also stopped at our first Tesla Supercharging station at Port Severn that look like a really well thought out rest stop for both EV and regular gasoline vehicles.

The major let down of the whole trip was that on the previous night, unbeknownst to me, I accidentally unplugged our portable fridge and all the delicious Mackay’s Ice Cream that we purchased in Alberta were all melted. Ruined on the last leg!

Lesson learned. Always check the temperature of the fridge when entering the vehicle.

This concludes our road trip. I will be doing another post on the charging statistics in a separate post.

Here is Carol’s video account of our day.