HTML5 Video on iOS 13

This past weekend, I was writing a simple HTML5 utility that provides certain videos that I have in my own personal library. The idea is that I can make a limited selection of videos and present it on a web page, so that the user can simply click on the cover art of the video and plays inline on the web page.

I thought it was a pretty simple requirement and I should be able to whip this up in a few minutes. I used the HTML5 <video> tag. Everything worked on my Mac and my iPad. It even worked on my LG OLED TV. However, when it came to the iPhone, mobile Safari would load the movie but it would not play. I was even able to seek through the movie by scrubbing the scroll bar, but when I press the play/pause button, nothing would happen.

After many hours scouring the web, I found out many caveats when serving videos on iOS with the iPhone.

  • Videos behind an authorized location may not work on an iPhone because when Safari passes this information to the player, the player does not inherit the previously authorized identity. To get around this, I had to create a token based technique, where the main page have to pass this token to a PHP page that checks this token and serves the video contents.
  • The PHP used to serve the video also need to handle HTTP Range based requests. This wonderful contribution from GitHub really helped me out!
  • Multichannel audio such as 5.1 audio encoded in AAC will load but not play on my iPhone XS currently running iOS 13. The video will play if I re-encode the audio to either AAC stereo, or 5.1 multichannel in AC3 encoding.
  • Multiple audio streams also did not work. The iOS player was only happy with a single compatible audio stream.
  • If you want to make the video autoplay while inlined within the page, it must first be muted.

Lots of things to consider here. I lost about a day and halve researching and experimenting with this, so here it is all recorded just in case I forget in the future. I also hope that this information will help you out as well.
Busted Door Bell Button

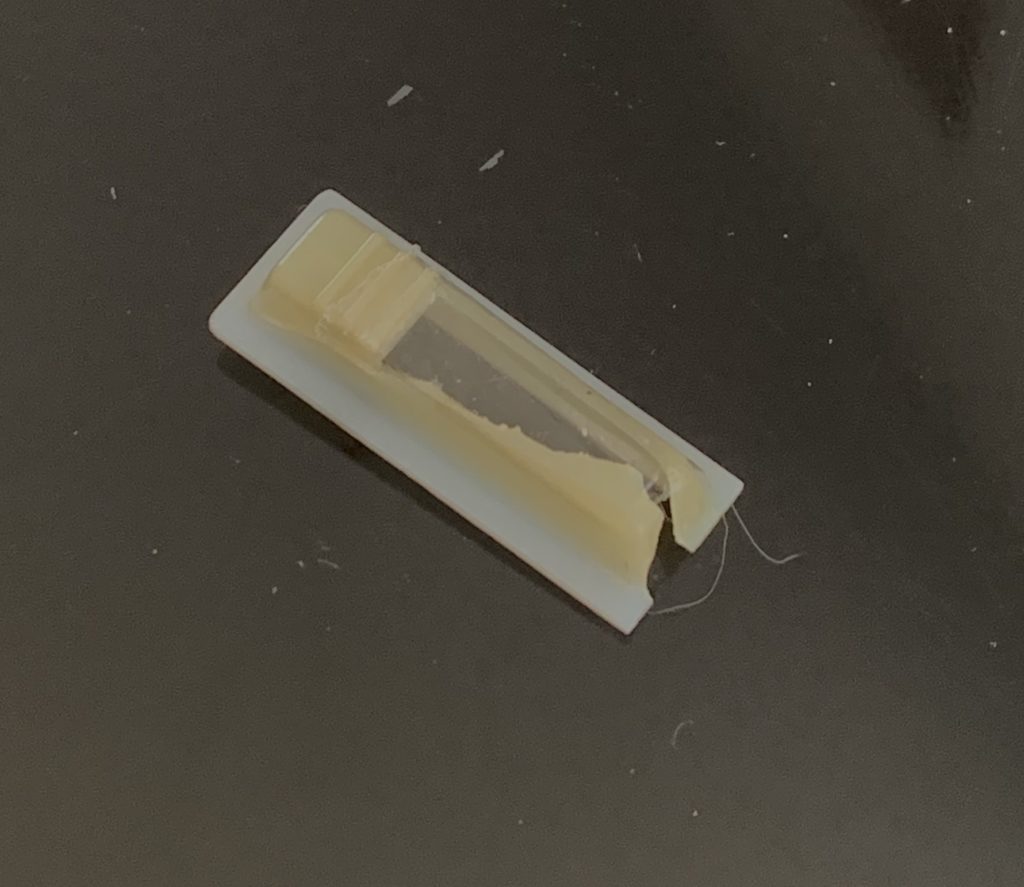
Cracked Button

We had a situation. Our original door bell that came with the house from 1999 (more than 20 years old) decided to crack and disintegrate on us last summer.

We used some transparent packaging tape to salvage the button, but last month it too has had enough of the weather.

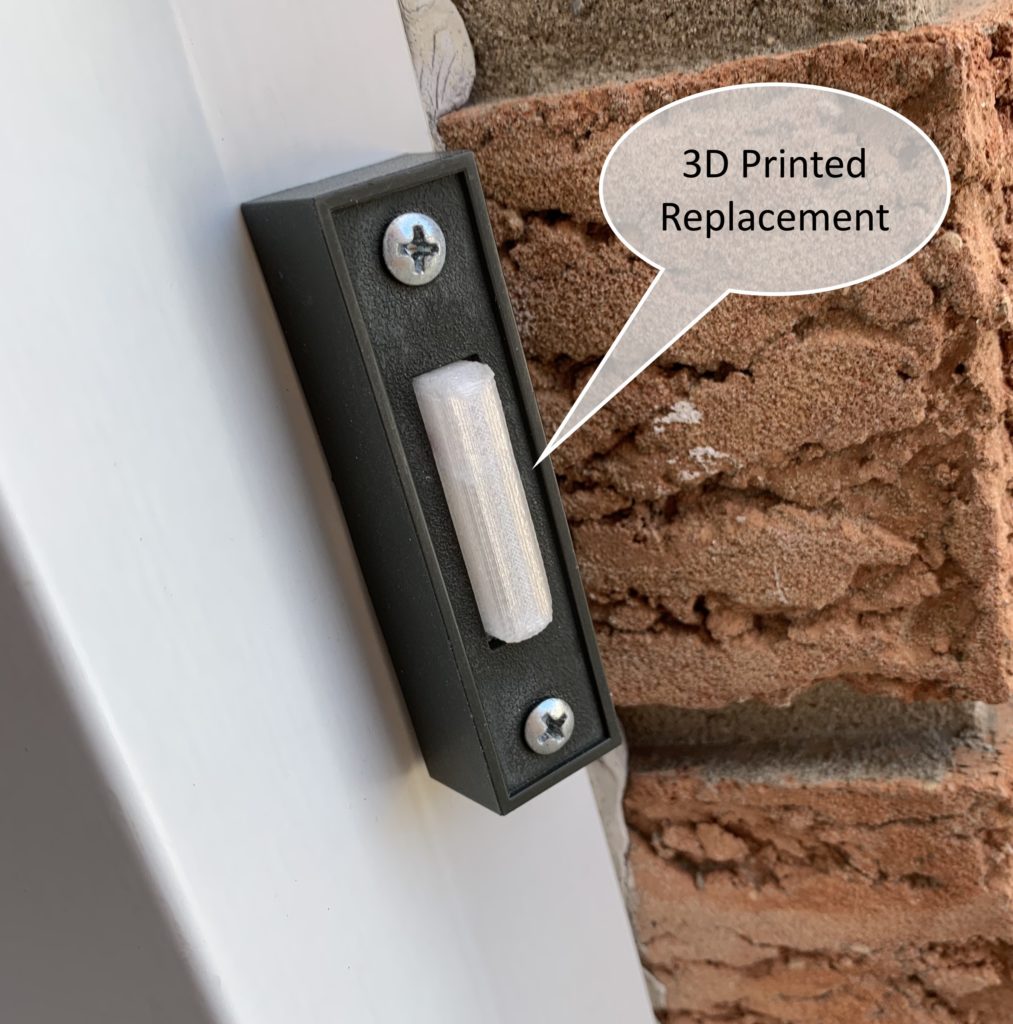
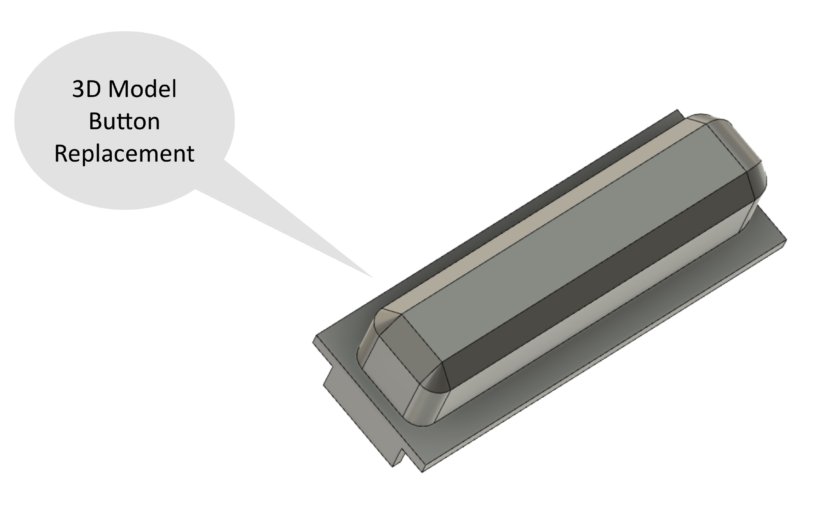
Once again our 3D printer came to the rescue. First I designed a replacement button in Autodesk Fusion 360 after I meticulously did all the measurements at least three times. Since it was a very small part, after around 20 minutes of printing, I had the replacement ready to go. Here is the final part installed:

I was on the receiving end of some ridicule when I first purchased the 3D printer, but it certainly has come in quite handy.

Ubuntu Server Missing Network Interface

I had an opportunity recently to install Ubuntu Server on a very old server, a Dell R710 that had 4 native network interfaces and 4 add-on network interfaces, resulting in a total of 8 network interfaces.

During the installation process, the installer did recognize all the physical network interfaces on the machine but because it did not successfully acquire DHCP addresses, I was forced to install Ubuntu without networking.

After the installation, only the loop back (lo) interface existed and all the other physical interfaces were missing. I had to use the netplan command to create the interfaces. This article was of tremendous help. I pretty well just followed its instructions.

I first created the 99-disable-network-config.cfg file with the contents as instructed by the article.

sudo su -

echo "network: {config: disabled}"  >>  /etc/cloud/cloud.cfg.d/99-disable-network-config.cfg

Followed by editing the 50-cloud-init.yaml file with the following contents:

vim /etc/netplan/50-cloud-init.yaml
# This file is generated from information provided by
# the datasource. Changes to it will not persist across an instance.
# To disable cloud-init's network configuration capabilities, write a file
# /etc/cloud/cloud.cfg.d/99-disable-network-config.cfg with the following:
# network: {config: disabled}
network:
  version: 2
  renderer: networkd
  ethernets:
    eno1:
      dhcp4: true

Once netplan is configured, I then executed the following command:

netplan generate
netplan apply

Once I rebooted the computer, the eno1 network interface now exists with a provisioned IP from my local DHCP server.

Much of the content in this blog is a verbatim reference from the article but I provided here so that it is more easily searched by me if I ever needed it in the future.