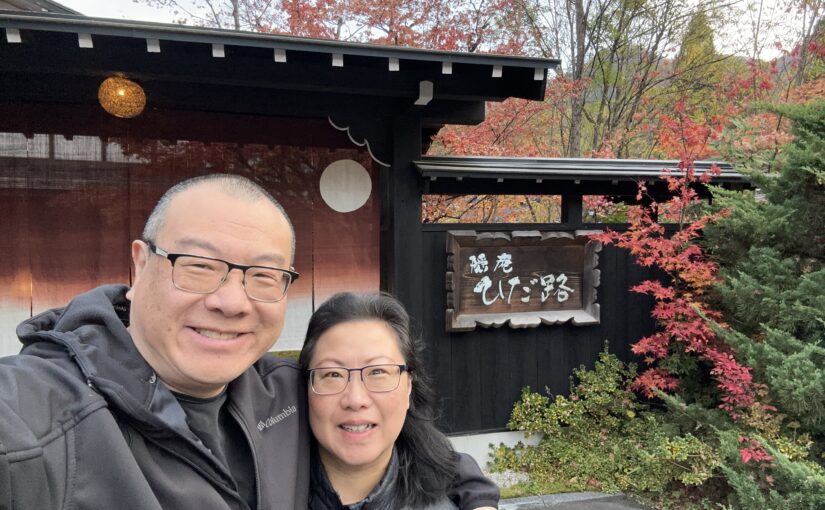
We spent the last two days at two different Ryokan’s in the Takayama, Gifu Prefecture. The first one was Kakurean Hidaji, and the second one was closer to the Shinhotaka Ropeway called Yarimikan.
Both represented the traditional Japanese folk homes with a service themed on onsen and delicious dinner and breakfast. The location of these two Ryokan was a bit far from Nagoya, and took us about 3 hours to get here by Nohi Bus with a single transit at Takayama.
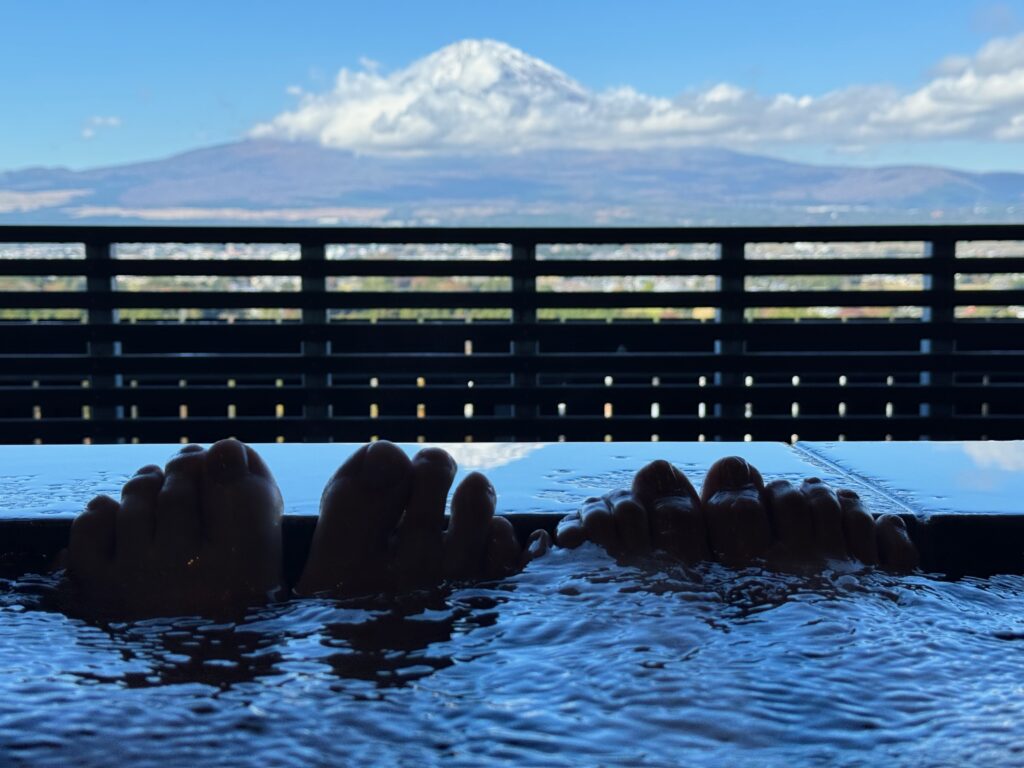
For me the experience was a little too retro for my taste, but I did enjoy the outdoor onsen quite a bit. The tatami was also too much to get use to, so thank god for the soft beddings that they have available for sleeping. At Yarimikan, there wasn’t even a shower in our room. We have to goto the indoor baths to take showers. For the adventurous ones out there this may be an excellent experience, but for me I prefer more creature comforts.
The next time we do a Ryokan we are going to strictly limit our bookings to private baths within the rooms! However, no matter how retro these places get, the comfort of a warm toilet seat is always something to look forward to in a Japanese washroom! Carol’s video will show more of our relaxing times at the ryokan’s.
We also took the opportunity to take the cable car at the Shinhotaka Ropeway. Unfortunately, we were not able to make it to the top, because the second leg of the journey was under maintenance. We did meet a local who was visiting from Kyoto and strike up a good conversation in English. He suggested that we should also visit the Kamikochi area. We will not have time on this trip, but perhaps next time.
Below are the two videos from Carol, representing each day of our stay at the two different ryokan’s.