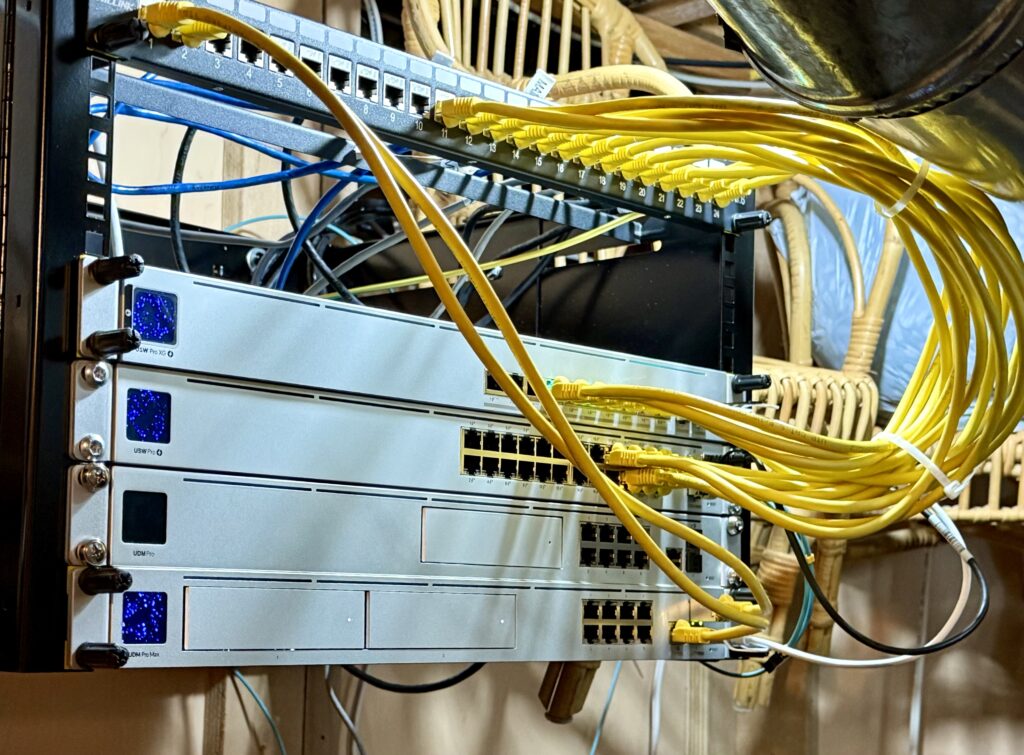
I have an old Raspberry Pi running Volumio to stream my music library to my living room home theatre. This morning, I needed to perform an update from Volumio 3 to Volumio 4. After I did the upgrade, the Raspberry Pi acquired a new IP address, which I need to discover through my Unifi Dream Machine Pro (UDMPro) Max web based user interface. It is then that I noticed that all the virtual machines hosted using Proxmox running on our AI Server have dropped off from my network. This is the AI Server that I built back in August of 2023, and discussed in this post.
I thought all I needed to do was a reboot, still no network connection. The networking interface seems to be off. I plug in a keyboard into the server, and added a monitor. No video signal, and the keyboard did not respond, not even the NUMLOCK LED worked. This is not good. All signs point to a hardware failure.
I pulled out PCIe cards one by one and try to resuscitate the server. No good. With a bare-bones motherboard, memory, and CPU, it still did not respond. I couldn’t even get into the BIOS. The fans were spinning, and the motherboard diagnostic LED’s point to some error when it is trying to initiate video / VGA.
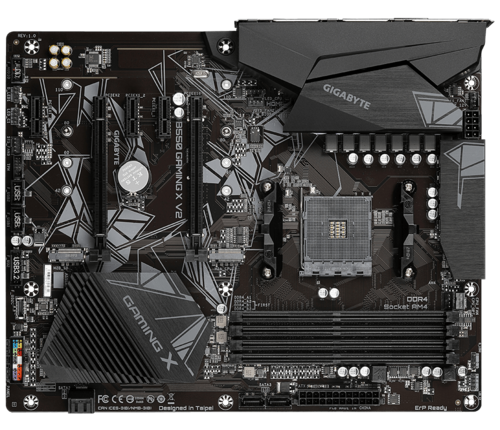
I ended up finding a possible replacement motherboard, Gigabyte B550 Gaming X V2, at a local Canada Computers for $129 (before tax), and some thermal paste for $9.99 (before tax) to reseat the CPU and the cooler.
The good news is that after replacing the motherboard, I was able to get into the BIOS. However when I try to boot the machine with the used Nvidia P40 card, it failed to boot again. I had to forego this card. The GPU could have been damaged by the old mainboard, or the GPU could have been damaged first and caused the mainboard to fail. At this point I am too tired to play the chicken or the egg game. I simply left the card out, and restore Proxmox on the server. It will no longer be an AI server, but at least the virtual machines on the server can be recovered.
Proxmox boots but will not shutdown. I had to undo the PCIe passthrough configurations that I did when I build the AI Server. This involved editing the GRUB configuration so that all the special options are removed in /etc/default/grub:
GRUB_CMDLINE_LINUX_DEFAULT=""Before it had configurations containing options to make use of IOMMU and the vfio modules. After this update, I had to perform the following commands:
update-grub
update-initramfs -u -k all
I then proceed to reboot the system, and the system behaved normally. During this process I also found out that Proxmox will not start normally if any of the mounts configured in /etc/fstab are not available. This threw me for a loop because the regular USB backup drive was disconnected when I was trying to resolve this issue.
Since the PCIe bus has different peripherals, I knew from my past experience which I detailed here, I have to edit the /etc/network/interfaces file with the new interface name. The following command really helped me identify the new name and which NIC I should pick, because there were multiple interfaces, and I wanted to pick the 2.Gbps one.
lshw -class networkIn the end, all of the virtual hosts are now up and running. I hope this new motherboard proves to be more stable without the used P40 GPU. Fingers crossed!