New Found Love for LaTeX

In a previous post called, Scaled Solar System, I used \LaTeX for math equations. Recently I needed the ability to create a few documents that are mostly works in progress, and I wanted the ability to track the progress of these documents using git.

Traditional word processing tools like Google Docs or Microsoft Word are insufficient because tracking changes with Microsoft Word is simply too difficult to deal with.

Both my wife and I are about to travel to China in November and we had several disparate itineraries from various airlines, tour operators, hotels, and such. In the past, I usually used Microsoft Excel to create a combined itinerary. However, last year I tried to keep the combined itinerary in the iOS Notes App. Both solutions were less than ideal. Excel proved too difficult to edit on the go because I either had to use the mobile Excel app or open up my laptop. Once changes are made it would be difficult to track the changes that I made.

With the iOS Notes App, editing the cells within a table is okay for simple stuff, but for a complicated itinerary, the formatting capabilities simply did not exist. The tracking of changes was also an issue.

This time around, I am going to use \LaTeX. I have not used \LaTeX since I wrote my fourth-year thesis back at University of Toronto, that would be 33 years ago!

It took me some time to set up my Neovim environment for \LaTeX editing and previewing. The MacTeX package is an excellent all-in-one package for my Mac. After about a couple days, I was able to create a master itinerary with all the attached source itineraries, all delivered in a single PDF document. I am also able to create hyperlinks within the PDF so that I can jump to the source itinerary or booking information from the master itinerary entry.

The resulting PDF master itinerary has been very satisfactory. It was fulfilling to once again work with \LaTeX!

Bedroom Audio Setup

After watching the YouTube video below:

YouTube video that I watched
Playlist

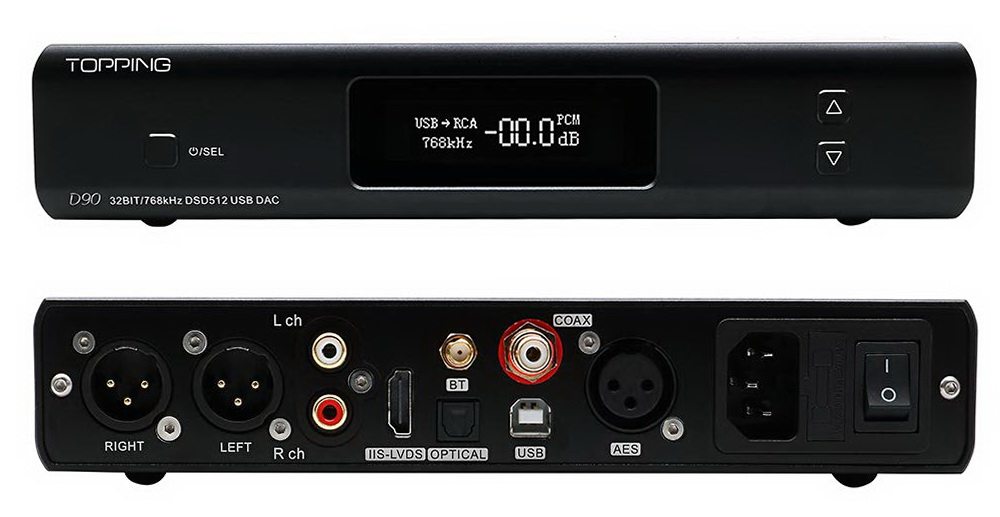
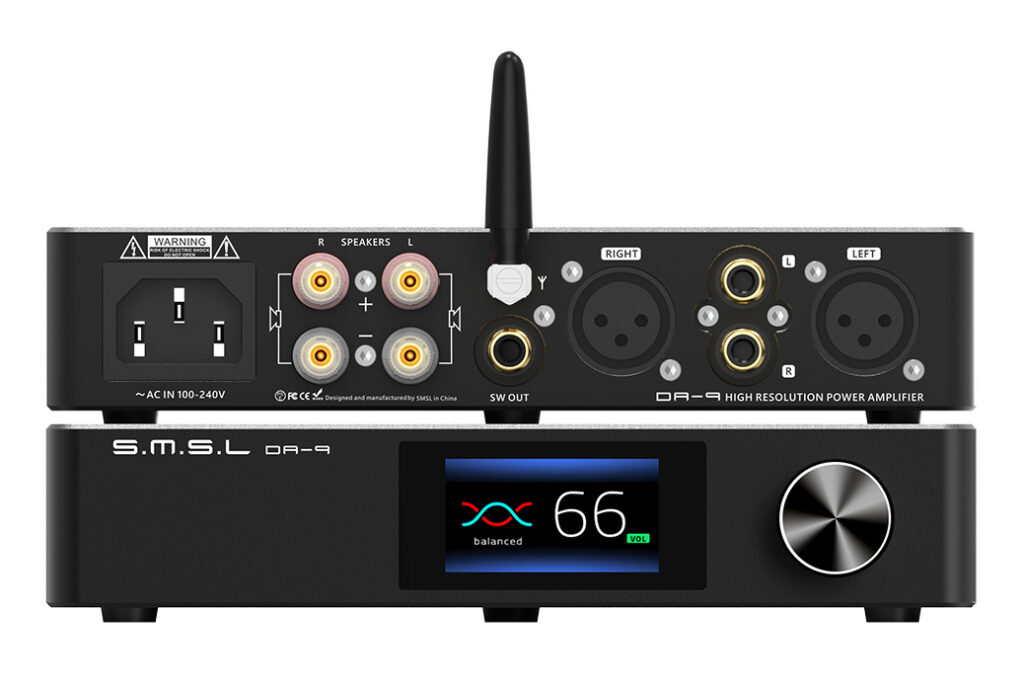
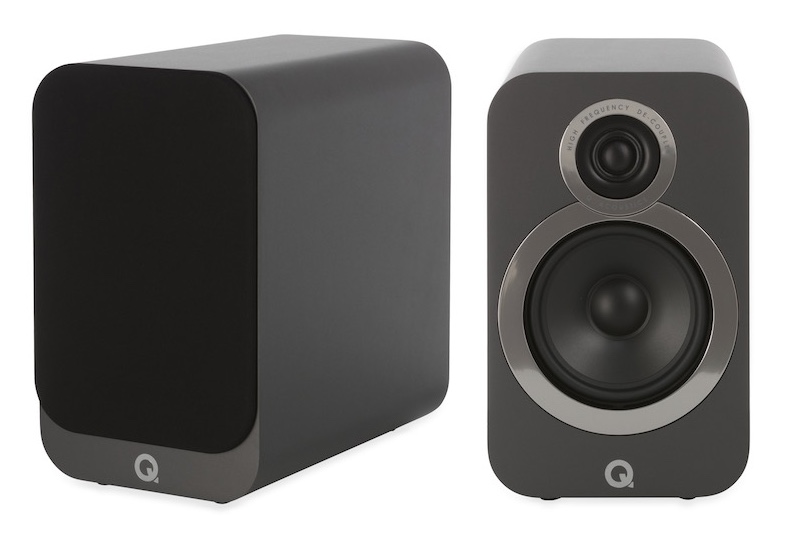
I felt compelled to listen to my Bedroom audio system which I have not done for quite a while. I was pleasantly surprised by the musicality of the playlist that I quickly mustered for the night. I created the playlist on my old Mac mini 2018 using Apple Music configured for lossless music and USB output. On the other end of the USB is a Topping D90 DAC. My Q-Acoustic 3020i bookshelf speakers are powered by the S.M.S.L. DA-9 stereo amplifier.

With the acquisition of the S.M.SL. DA-9 stereo amplifier from my Winnipeg trip last year, and a freed, old Mac mini. I am able to swap out the old Raspberry Pi running Volumio as my streamer, and use the Mac mini instead. This way not only can I take advantage of Apple Music Loseless, but I can also install mpd to play my FLAC library. I still use the Rigelian App on both my Mac and iOS devices to control music from my mpd.

However to get the Mac mini working with my Topping D90 external DAC, I had to configure mpd appropriately. Below is a snippet of the mod configuration for audio_output. The configuration file is stored in ~/.mpd/mpd.conf.

audio_output {
          type            "osx"
          name            "D90 "
          device          "D90 " # optional
          mixer_type      "disabled"
          dop              "yes"
}

The following command can be used to obtain the detail of the USB audio devices that my Mac is aware of:

system_profiler SPAudioDataType

Note the extra trailing space of the D90 name.

Below are the pictures of the equipment and software of my stack.

My External DAC Topping D90
My Stereo Amplifier S.M.S.L DA-9
Q-Acoustics 3020i Bookshelf Speakers
I use the Rigelian App to control my music on mpd
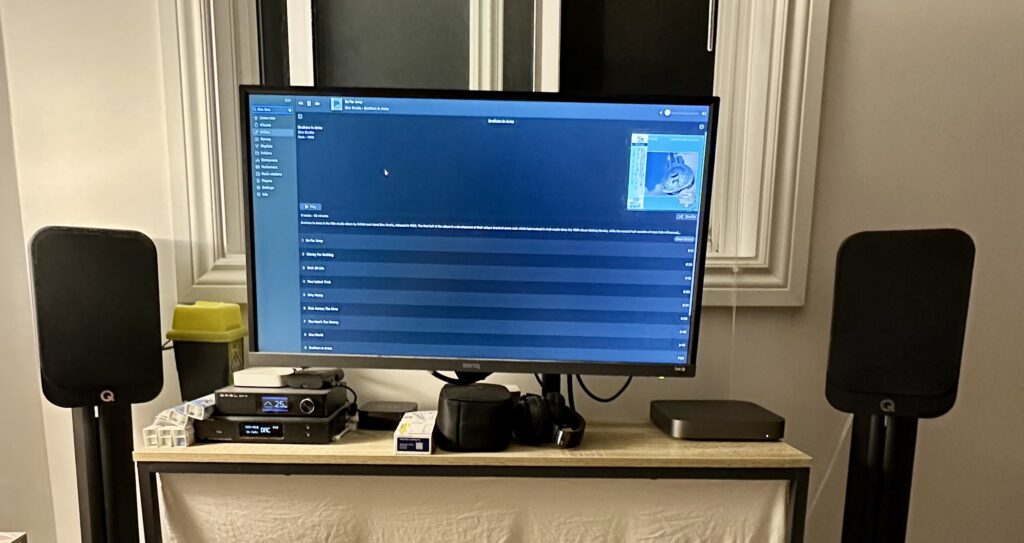
All together now!

Replacing VDEV in a ZFS Pool

Several months ago I had an old 3TB hard drive (HDD) crashed on me. Luckily it was a hard drive that is primarily used for backup purposes, so the data lost can quickly be duplicated from source by performing another backup. Since it was not critical that I replace the damaged drive immediately, it was kind of left to fester until today.

Recently I acquired four additional WD Red 6TB HDD, and I wanted to install these new drives into my NAS chassis. Since I am opening the chassis, I will irradicate the damaged drive, and also take this opportunity to swap some old drives out of the ZFS pool that I created earlier and add these new drives into the pool.

I first use the following command to add two additional mirror vdev’s each composed of the two new WD Red drives.

sudo zpool add vault mirror {id_of_drive_1} {id_of_drive_2}

The drive id’s is located in the following path: /dev/disk/by-id and is typically prefixed with ata or wwn.

This created two vdev’s into the pool, and I can remove an existing vdev. Doing so will automatically start redistributing the data on the removing vdev to the other vdev’s in the pool. All of this is performed while the pool is still online and running to service the NAS. To remove the old vdev, I execute the following command:

sudo zpool remove vault {vdev_name}

In my case, the old vdev’s name is mirror-5.

Once the remove command is given, the copying of data from the old vdev to the other vdev’s begins. You can check the status with:

sudo zpool status -v vault

The above will show the copying status and the approximate time it will take to complete the job.

Once the removal is completed, the old HDD of mirror-5 is still labeled for ZFS use. I had to use the labelclear command to clean the drive so that I could repurpose the drives for backup duty. Below is an example of the command.

sudo zpool labelclear sdb1

The resulting pool now looks like this:

sudo zpool list -v vault

(Output truncated)
                                                                                                                     NAME                                                    SIZE  ALLOC   FREE
vault                                                  52.7T  38.5T  14.3T
  mirror-0                                             9.09T  9.00T  92.4G
    ata-ST10000VN0008-2JJ101_ZHZ1KMA0-part1                -      -      -
    ata-WDC_WD101EFAX-68LDBN0_VCG6VRWN-part1               -      -      -
  mirror-1                                             7.27T  7.19T  73.7G
    wwn-0x5000c500b41844d9-part1                           -      -      -
    ata-ST8000VN0022-2EL112_ZA1E8S0V-part1                 -      -      -
  mirror-2                                             9.09T  9.00T  93.1G
    wwn-0x5000c500c3d33191-part1                           -      -      -
    ata-ST10000VN0004-1ZD101_ZA2964KD-part1                -      -      -
  mirror-3                                             10.9T  10.8T   112G
    wwn-0x5000c500dc587450-part1                           -      -      -
    wwn-0x5000c500dcc525ab-part1                           -      -      -
  mirror-4                                             5.45T  1.74T  3.72T
    wwn-0x50014ee2b9f82b35-part1                           -      -      -
    wwn-0x50014ee2b96dac7c-part1                           -      -      -
  indirect-5                                               -      -      -
  mirror-6                                             5.45T   372G  5.09T
    wwn-0x50014ee265d315cd-part1                           -      -      -
    wwn-0x50014ee2bb37517e-part1                           -      -      -
  mirror-7                                             5.45T   373G  5.09T
    wwn-0x50014ee265d315b1-part1                           -      -      -
    wwn-0x50014ee2bb2898c2-part1                           -      -      -
cache                                                      -      -      -
  nvme-Samsung_SSD_970_EVO_Plus_500GB_S4P2NF0M419555D   466G   462G  4.05G

The above indirect-5 can be safely ignored. It is just a reference to the old mirror-5.

This time we replaced the entire vdev, another technique is to replace the actual drives within the vdev. To do this, we will have to use the zpool replace command. We may also have to perform a zpool offline first before the replace command. This can be successively done on all the old drives in the mirror with newer drives with larger capacities to increase an existing vdev’s size.