Covid-19 Alert App and Scheduling Tests

The Government of Canada has been recommending the Covert-19 Alert App for quite some time now. This is an app that is installed on your smart phone and in a confidential, and anonymous manner, logs proximity interactions between your phone and other phones without sharing any elements of your personal identity or confidential information. If users of the app ended up testing positive for Covid-19, it is up to the users to share their diagnosis with the app in a confidential manner. Once the diagnosis is shared, all the historical phone interactions within the last 14 days that were within 2 meters for 15 minutes will be notified. This in theory should expedite contact tracing with other exposed users.

Any users receiving a notification should get tested before interacting with others or self-isolate for a period of 2 weeks, so I assumed.

I recently schedule a Covid-19 test on behalf of a friend who received such a notification. However, the person who is registering the tests, try to persuade me that a test may not be necessary. Although this person may be correct under certain circumstances, I personally think it is the wrong message to send. First I don’t think the user who is at risk should judge in which circumstances a test is not required. That is simply too much to ask.

I detected a tone of mistrust on the app itself. The person told me the app is “unreliable”. Being in the app business myself, I was curious as why it is unreliable, so I asked the person. They said that many people get an alert because they recently visited a hospital or other high risk areas. I stopped my questioning there, because I did not want to offend the very person who I want to schedule a Covid-19 test with, but in my mind, I am yelling, “WHAT THE HELL! That is precisely the point!”

The idea is to detect a level of risk, and if the threshold (within 2 meters for 15 minutes) is exceeded, then it is best to get tested so that we prevent a possible walking virus breeder. What am I missing here? Instead I get the feeling of, Covid-19 tests are extremely precious, and you should not waste them. The interface that we are using to schedule a test, is discrediting the Covid-19 Alert App, which I think will hinder the prevention of virus spread.

If I did not continue to persuade her that a test is necessary, she could have convinced me not to take the test. This could potentially be poor judgement risking exposures to others.

This is why we do not have this under control people! Our prevention protocols are like sifting baking flour with a tennis racket. This is absolutely crazy!

Getting Tested for Covid-19

Last night I received a call from the vice-principal of one of my son’s high school. They indicated that my son had an indirect contact with a Covid positive individual. That individual was not a member of the school, but is a family member of a classmate.

As a result of this discovery, his entire class now requires isolation and a Covid-19 test is strongly recommended.

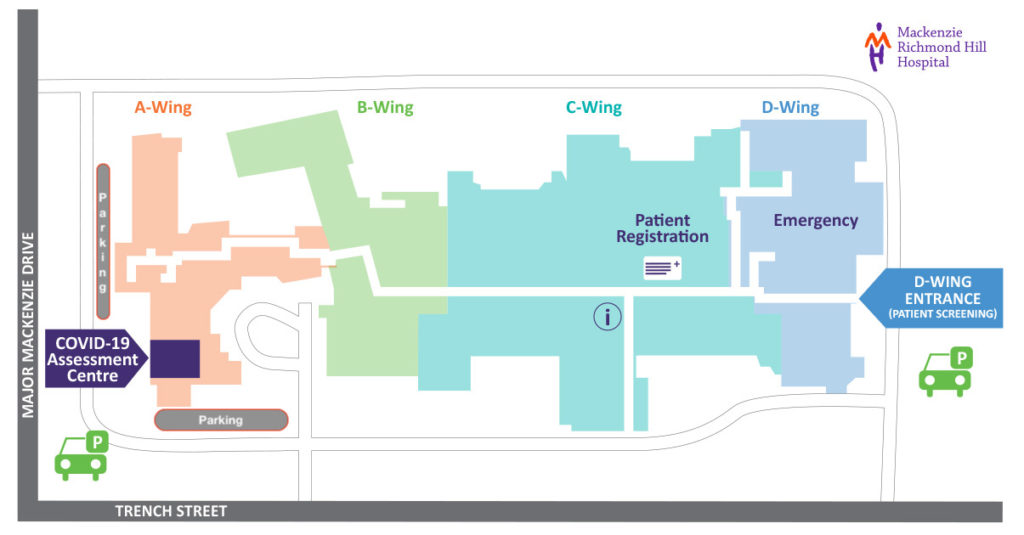
Mackenzie Health, located on 10 Trench St., Richmond Hill, ON. is about 10 minutes drive from our house. It just so happens they have a Covid-19 Assessment Centre there. In Ontario, all Covid-19 tests are conducted at these assessment centres, and at the time of this writing, an appointment is required.

I called 905-417-2004 at 8am sharp this morning and ended up first in the queue to make an appointment. I had my son’s Health Card ready, and is the first thing they ask for. They have all of our information once I gave them my son’s Health Card number. They collected his email address so that they can register him through MyChart, an online site where you can get your test results once it is ready.

If you are already a patient at Mackenzie Health, and already have a MyChart account, you can schedule a test online without having the need to call in.

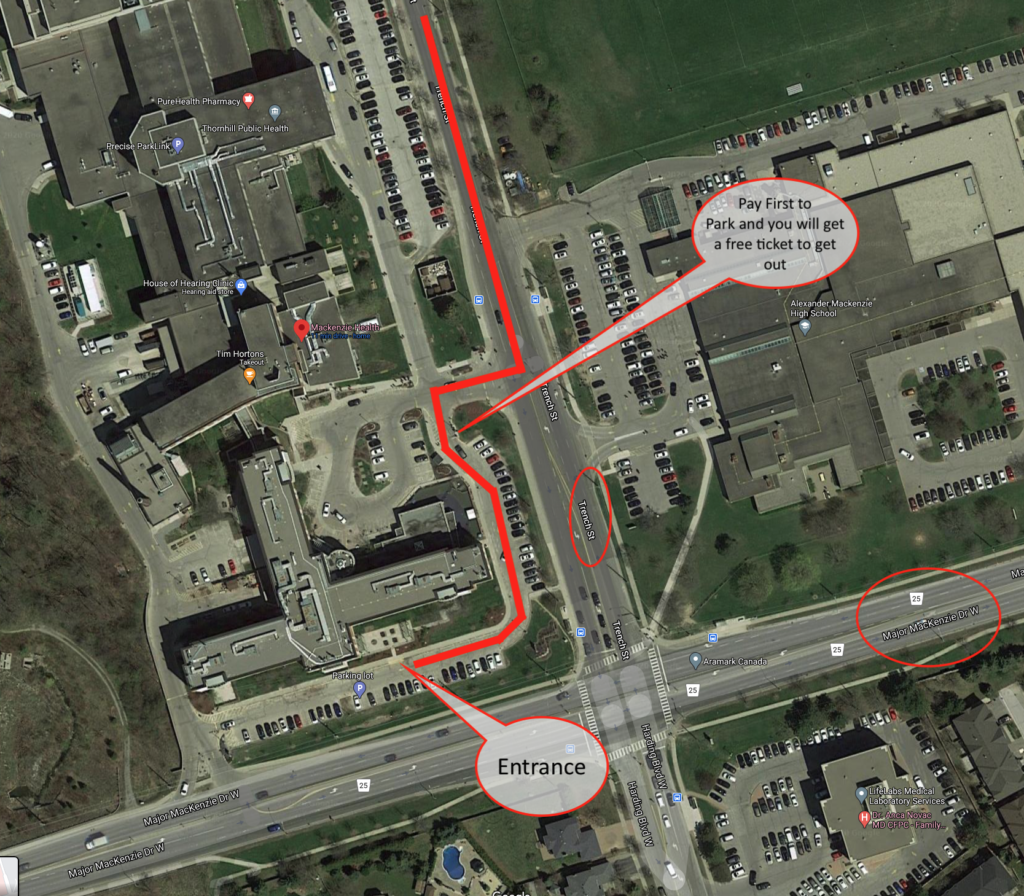
The appointment was for 4:20pm this afternoon, and we arrived at around 5 minutes early. We park in the A-Wing parking lot. They will give you a voucher / ticket to get out of the parking lot, so you do not need to pay for parking.

Here is a top down satellite photo to show precisely where you need to go and park and where the walk-in entrance is.

Satellite Photo (Up is North) – click to enlarge

There was only about 2 to 3 groups ahead of us in line, so the wait was a matter of couple of minutes. At registration, they ask you to change your mask to the ones they provided. The test was completed in less than 15 minutes. They had 8 stations performing the tests in parallel.

The cotton swab test was a bit uncomfortable for my son. He characterized it as a bit of a burning sensation afterwards.

Overall the process is fairly simple and straight forward. Now we await the good news in 2 to 3 days.

Adding Ceiling Fans to HomeKit

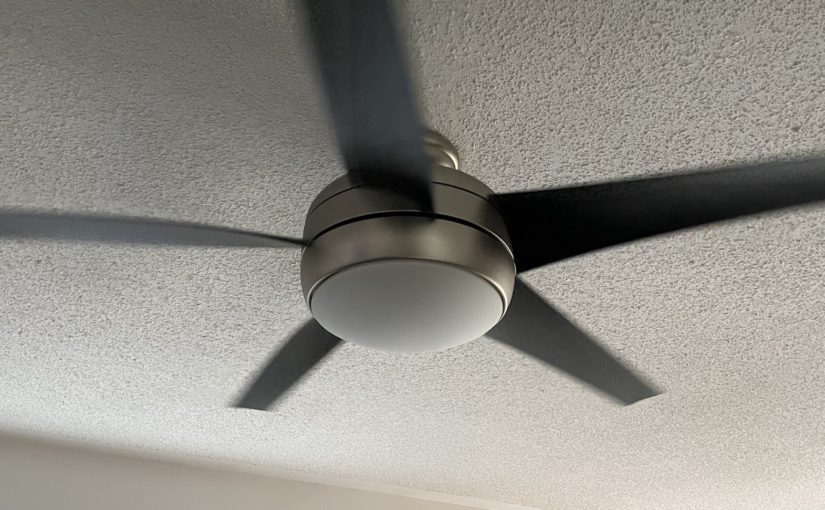
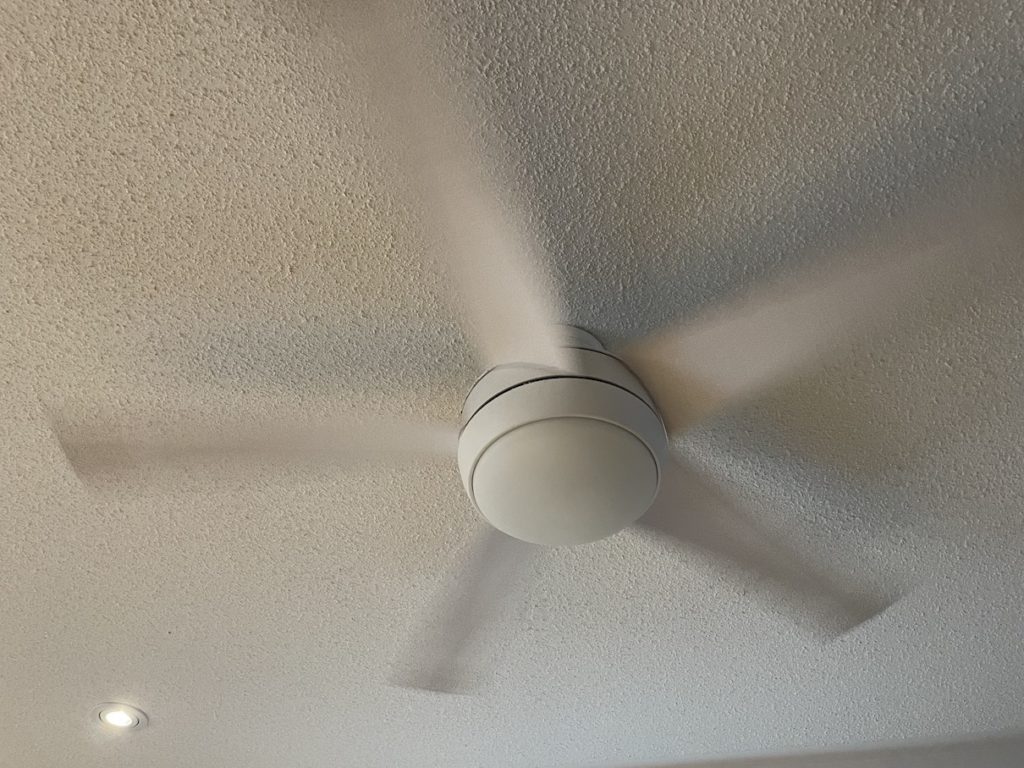
I have two legacy ceiling fans in the house. One upstairs and the second in the living room. Both uses a radio frequency remote control. I could replace the fan or its remote control units to be more “smart”. However, I found out about this Bond Bridge product, which acts a WiFi to RF bridge for these products. Both my Hampton Bay fans are supported.

Hampton Bay Fan

I had some issues setting up the Bond Bridge to my home WiFi network, but their customer support was extremely helpful. After setting up both of my fans on the Bond Home app, and tested the light and fan speed controls, I integrated the Bond Bridge to my Homebridge server on my NAS.

I had to use the homebridge-bond plugin, which by now I was old hat in setting up these homebridge plugin’s. A quick edit in the homebridge configuration file as instructed by the plugin, and I can control the fans with Siri and the HomeKit app.

Next step is to probably wait for Black Friday and get 2 HomePod mini, one for upstairs and one in the basement, so that our voice commands can be picked up throughout the house. All common accessories save the basement has now been integrated into HomeKit.

Converting iPhone 12 HDR Videos to SDR with FFMpeg

In a previous post, I talked about how to view HDR (High Dynamic Range) videos from the iPhone 12 on my OLED TV. However, sometimes I like to take that HDR video and converted into SDR (Standard Dynamic Range) videos for posting or distribution.

During the course of experimenting with FFMpeg, as the primary tool for this purpose, I found out that it is not always necessary to convert the video depending on where you are going to use the video. For example, uploading the raw HDR footage from the iPhone 12 to YouTube works just fine. However posting HDR video footage to Instagram currently yields a very washed out result.

I personally prefer to store all my raw footage in its high resolution 4K HDR goodness. However, I also keep a rendered down SDR version for practical use. How does one get an SDR video from an HDR source? This is what FFMpeg is for.

All the command line instructions below have been tested on the macOS, and it is assumed that you already have brew installed.

You will need to install a version of FFMpeg that has the zscale filter. If you have a previous version installed without this filter, then you will have to uninstall it first.

brew uninstall --ignore-dependencies ffmpeg

And then we install the version with the filter from the homebrew-ffmpeg tap.

brew install homebrew-ffmpeg/ffmpeg/ffmpeg --with-fdk-aac --with-libbluray --with-libbs2b --with-libcaca --with-libgsm --with-libmodplug --with-librsvg --with-libsoxr --with-libssh --with-libvidstab --with-libvmaf --with-libxml2 --with-opencore-amr --with-openh264 --with-openjpeg --with-openssl --with-openssl@1.1 --with-rav1e --with-rtmpdump --with-rubberband --with-speex --with-srt --with-tesseract --with-two-lame --with-wavpack --with-webp --with-xvid --with-zeromq --with-zimg

I recorded a sample video from my iPhone 12 Pro, below is the raw footage.

The included videos in this article are all HEVC encoded. If your browser does not support this encoding, then you will not be able to play the videos. Safari has no issues. If you have Windows 10, then you can install an extension. How the videos are displayed also depend on the quality and capability of your monitor.

Raw footage from iPhone 12 (4K HDR 60fps) – 92M in size

If you just perform a simple conversion, you will get the washed up version:

ffmpeg -y -i raw.mov -map v:0 -map 0:a -c:v hevc -preset veryfast -tag:v hvc1 -c:a copy sdr_washed_out.mp4
Simple conversion without filters gets a bland result – 5.8M in size

The HDR colours have to be appropriately mapped using some filter trickery with FFMpeg. I found these filter settings about two years ago when trying to convert HDR videos from YouTube in the BT2020 space to BT709. Below is the set of filters used:

ffmpeg -y -i raw.mov -filter_complex "[0:v]zscale=t=linear:npl=100,format=gbrpf32le,zscale=p=bt709,tonemap=tonemap=hable:desat=0,zscale=t=bt709:m=bt709:r=tv,format=yuv420p[v]" -map "[v]" -map 0:a -c:v hevc -preset veryfast -tag:v hvc1 -c:a copy sdr.mp4
SDR result with filter – 5.6M in size

As you can see the SDR version with filter is a lot closer to the original one.

These FFMpeg conversions require a lot of CPU horse power, so beware that they will take a long time. Let me know if there is a better way, as I’m always open to optimize this workflow.