I have been a huge fan of Apple’s fusion drives. They are an excellent compromise for affordable mass storage while still able to give you SSD performance. The concept is simple pair a fast but small SSD drive with a large but slow and much affordable, mechanical HDD. You get good performance and have lots of storage without breaking the bank.
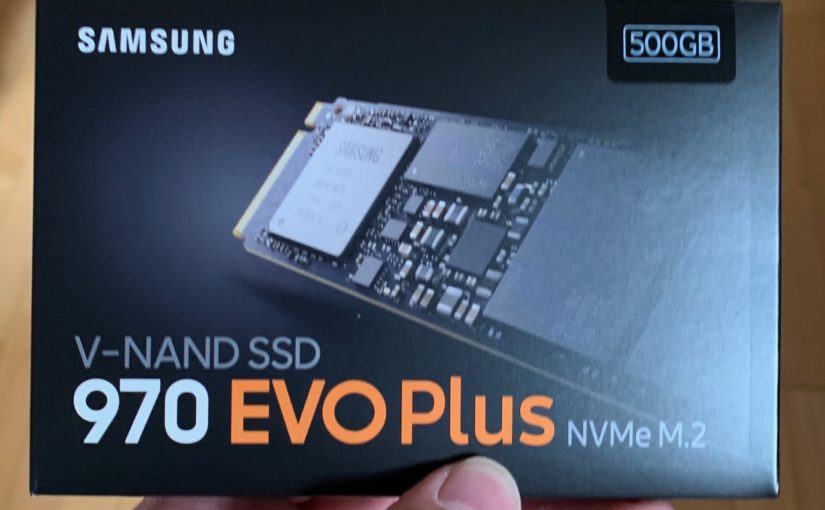
I have falsely assumed that this capability only existed with Apple’s macOS operating system. This week I was pleasantly surprised to have discovered that LVM Cache can do more or less the same thing on Linux. This new found knowledge along with an excellent deal on a 500GB NVMe Samsung 970 Evo Plus M.2 drive gave me the itch to experiment this weekend with my NAS media server.
The hardware was easy enough to install, but I had to move one of the existing SATA connection because the M.2 slot on the motherboard shared a PCIe bus with a pair of SATA connections. Luckily I bothered to check the motherboard manual, otherwise I would have been scratching my head while the server fail to boot.
The software configurations were a bit more involved. Before I purchased the NVMe card, I did some experimentation with two external USB drives, one SSD and one HDD. I found this article to be super helpful in configuring LVM Cache with my test drives. However, these configurations were not fully restored after a reboot. After many hours of research on the Internet, I found this article indicating that my Ubuntu Linux distribution was missing the thin-provisioning-tools package. I also had experimented between the two different cache modes that were available, writethrough and writeback. I found out that the write back mode was a bit buggy and did not sync the cache and the storage drive. Yet another article to the rescue.
lvchange --cachesettings migration_threshold=16384 vg/cacheLV
I preferred the write back mode due to its better write performance characteristics. Apparently to fix the issue, I have to increase the migration threshold to something larger than the default of 2048 because the chunk size was too large.
Here are the steps that I did to configure my existing logical volume (airvideovg2/airvideo) to be cached by the NVMe drive that I just purchased. I first have to partitioned the NVMe drive.
Model: Samsung SSD 970 EVO Plus 500GB (nvme) Disk /dev/nvme0n1: 500GB Sector size (logical/physical): 512B/512B Partition Table: gpt Disk Flags: Number Start End Size File system Name Flags 1 1049kB 500GB 500GB primary
Create an LVM physical volume with the NVMe partition that was created previously /dev/nvme0n1p1 and add it to the existing airvideovg2 volume group.
sudo pvcreate /dev/nvme0n1p1


sudo vgextend airvideovg2 /dev/nvme0n1p1
Create a cache pool logical volume and set its cache mode to write back and establish the migration threshold setting.
sudo lvcreate --type cache-pool -l 100%FREE -n lv_cache airvideovg2 /dev/nvme0n1p1


sudo lvchange --cachesettings migration_threshold=16384 airvideovg2/lv_cache

sudo lvchange --cachemode writeback airvideovg2/lv_cache
Finally link the cache pool logical volume to our original logical volume.
sudo lvconvert --type cache --cachepool airvideovg2/lv_cache airvideovg2/airvideo
Now my original logical volume is cached and I have gained SSD performance economically on my 20TB RAID setup for less than $200. Below is my final volume listing.
$ sudo lvs -a LV VG Attr LSize Pool Origin Data% Meta% Move Log Cpy%Sync Convert airvideo airvideovg2 Cwi-aoC--- 20.01t [lv_cache] [airvideo_corig] 0.01 11.78 0.00 [airvideo_corig] airvideovg2 owi-aoC--- 20.01t [lv_cache] airvideovg2 Cwi---C--- 465.62g 0.01 11.78 0.00 [lv_cache_cdata] airvideovg2 Cwi-ao---- 465.62g [lv_cache_cmeta] airvideovg2 ewi-ao---- 64.00m [lvol0_pmspare] airvideovg2 ewi------- 64.00m
We can also use the command below to get a more detail listing.
sudo lvs -a -o+name,cache_mode,cache_policy,cache_settings,chunk_size,cache_used_blocks,cache_dirty_blocks
Upgrade completed. We’ll see how stable it is in the future.

